Fuel Cap Fitting Guide
There’s no need to worry if you’ve noticed a problem with your existing fuel cap, since fitting a replacement couldn’t be easier thanks to our easy-to-use cap fitment guide.
Getting the right parts for your car is important – fuel caps included. An ill-fitting cap can cause all kinds of issues, so you’ll want to get both the cap and the fit right to prevent things like leaks and damage to the fuel tank.
Therefore, we’re here to use our years of knowledge and research which allow us to run you through the different fitting types, as well as give a full explanation of how each one works.
We’ll also help you understand how to fit and remove them, as there are a few differences to keep in mind. Cars will require different fittings, so it'll be worth knowing which type is right for your car when looking for a like-for-like replacement.
There are four different fuel cap fitting types, so here’s a quick overview of how to replace each…
How to Fit a New Fuel Cap
Now that you know the available fuel cap types, along with which one is right for your car's make and model, here’s our simple guide to assist you with fitting each one…
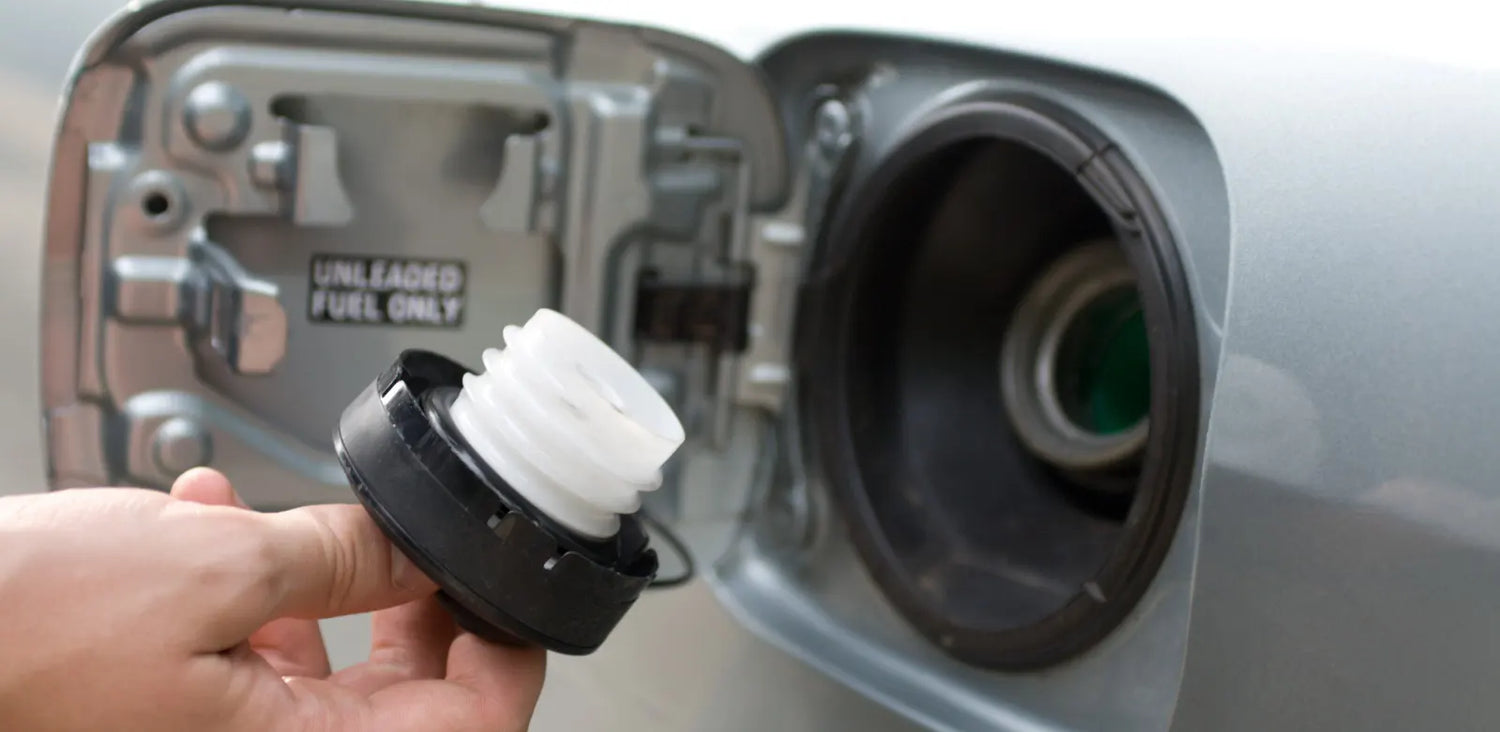
Internal Screw Fuel Cap
An internal screw cap is exactly what it sounds like; it screws into place with an internal thread.
- The internal screw type is normally supplied in the open position, meaning that if you hold the top portion of the cap and try to turn the screw part, it remains as one piece.
- If the screw part of the cap turns, then it is locked into position and needs to be opened before fitting.
- To open it, hold the upper part of the cap and turn the key. Then rotate the screw section until you feel it click into place and become one piece with the upper part.
- This is now the open position. You then screw the cap into the neck until you feel it coming to a stop. Holding the upper part of the cap, you then turn the key and remove it. Once done, you should be able to turn the top part without the bottom part moving. This confirms it is locked.
- To remove the cap, insert the keys while holding the top of the cap, and turn the keys. You can then rotate the upper part of the cap until you feel it click as it engages with the bottom screw section.
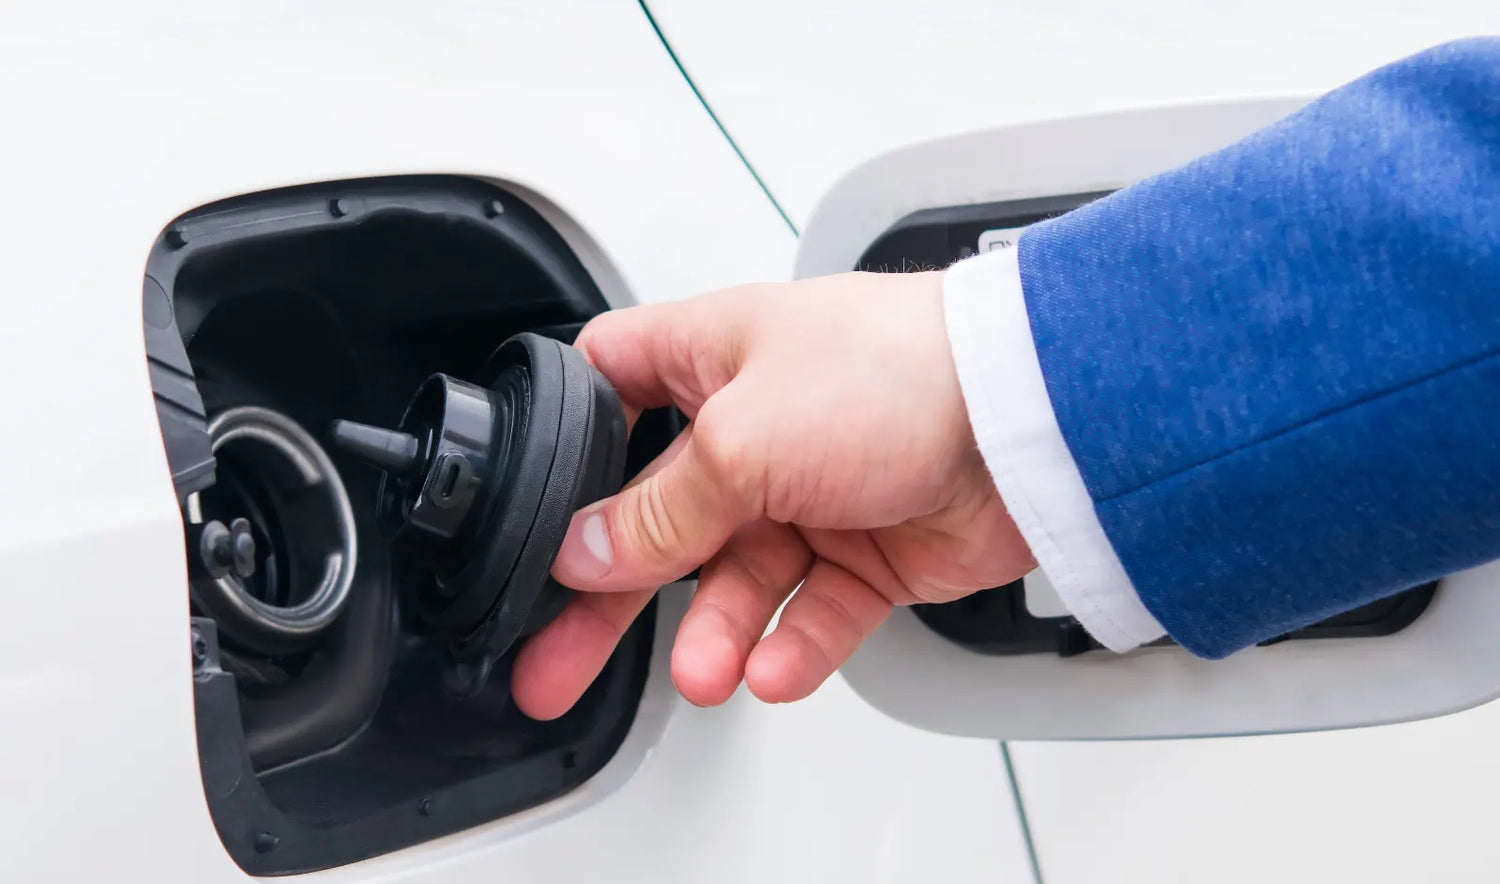
Bayonet Fuel Cap
This type of cap has two or three lugs on the body of the cap. These lugs line up with cut-outs in the body of the neck.
- You need to ensure that the lugs on the body of the cap line up with the lugs on the upper part of the cap body.
- Insert the cap into the neck until it comes to a stop whilst holding the top of the cap. Turn the cap about 90 degrees until it stops. Turn the key all the way and remove it. Remember – your cap may be the type that when inserted doesn’t turn 90 degrees but just relies on the key turning.
- To remove the cap, insert the key, hold the upper body of the cap, and turn the key until it stops. The cap should now be removable.
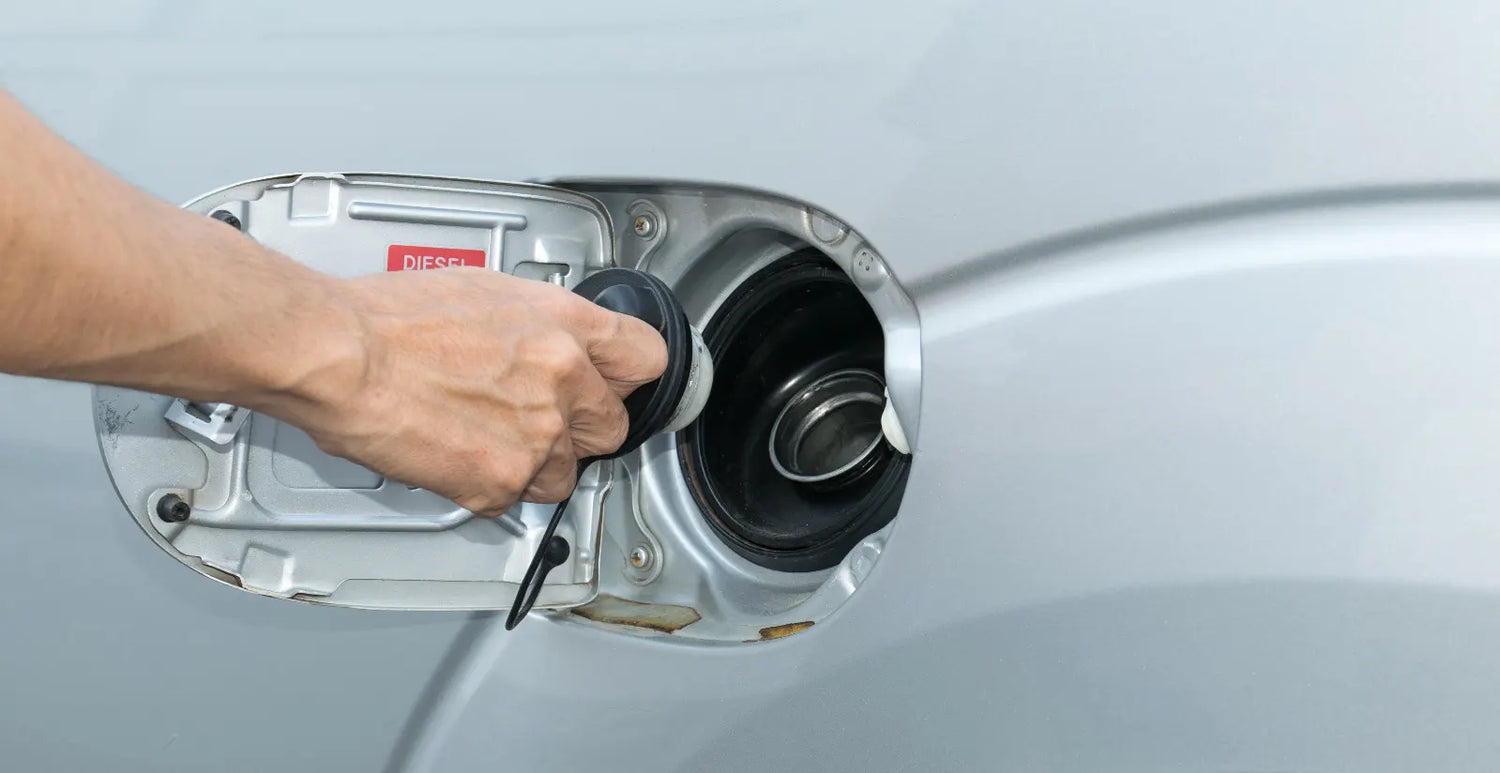
Quick Twist Fuel Caps
The quick twist type works by inserting the external thread into the filler neck and quickly twisting.
- Check that the body of the cap and the top of the cap are moving together at the same time. Insert into the neck, and twist until it comes to a stop. Then hold the top of the cap and turn the key 90 degrees. This will then allow the removal of the key as the cap is now in the locked position.
- To remove, insert the key and turn 90 degrees whilst holding the top of the cap.
- This will then engage the body with the top of the cap and allow a twist of 90 degrees to remove the cap.
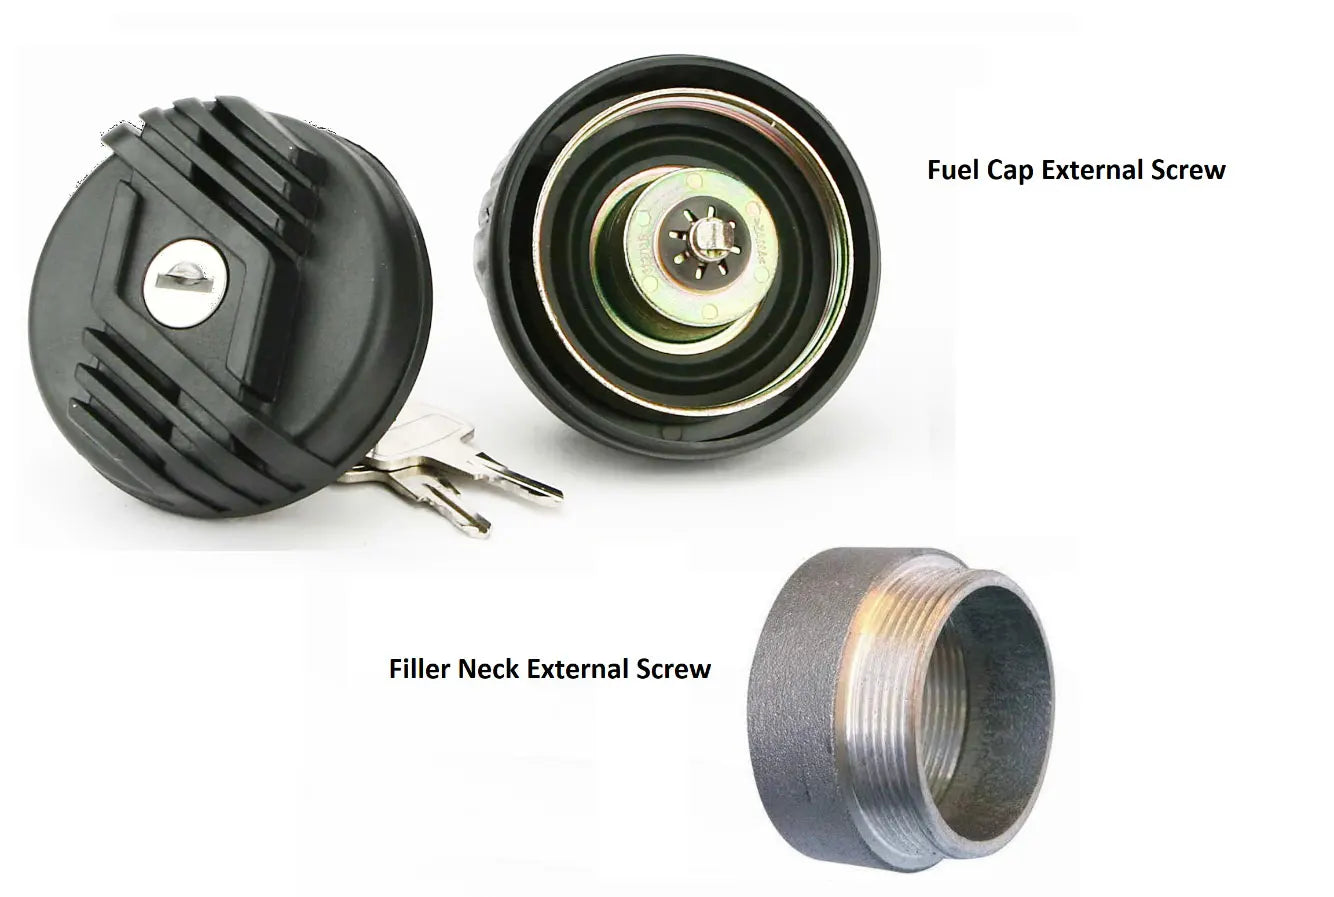
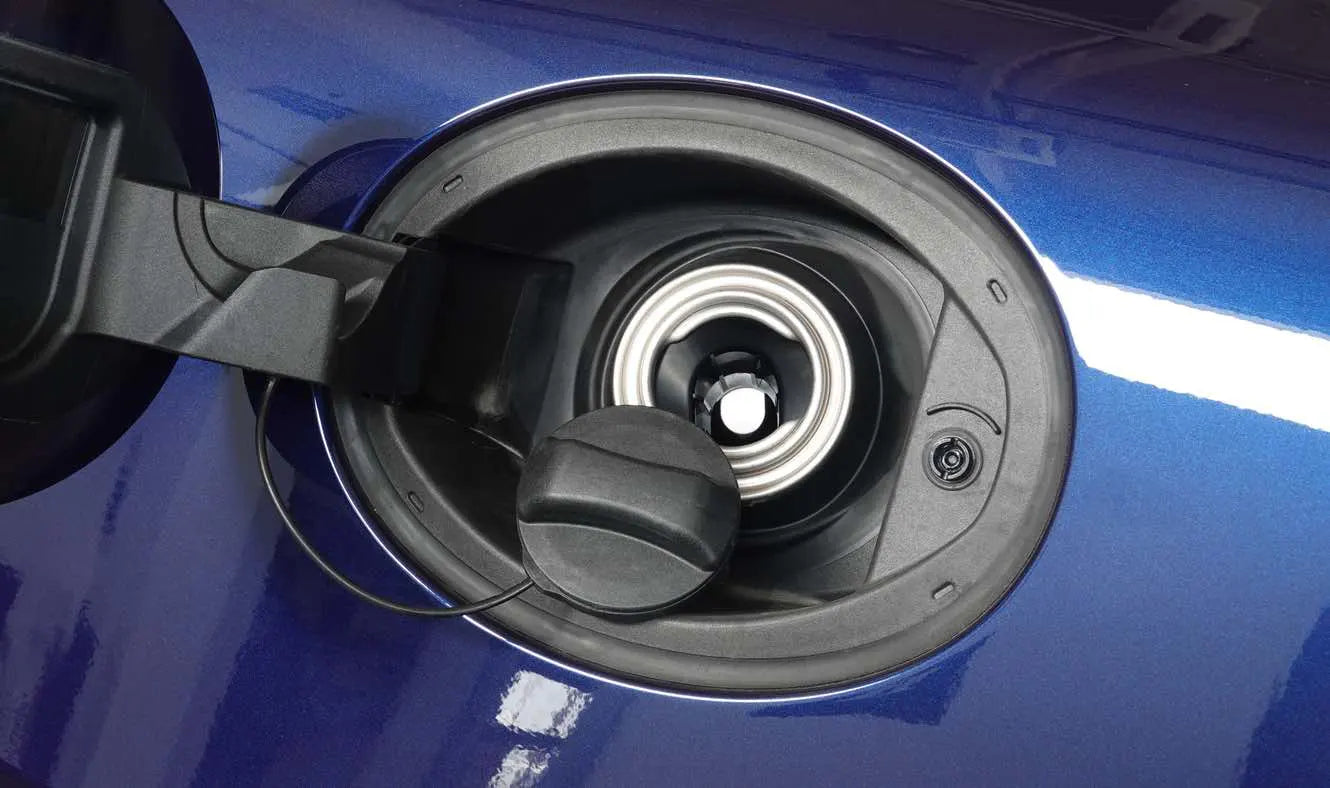
External Screw Fuel Caps
For this cap, the thread is inside the body of the cap, meaning that your filler neck will have an external thread.
- To fit this cap, you first need to ensure it is in the open position. This is when the inner part of the cap doesn’t spin around freely when holding the body of the cap.
- Once in this position, you can screw the cap onto the neck. Once it comes to a stop, you then hold the body of the cap and turn the key.
- Remove the key and turn the cap. The top of the cap should now spin freely preventing removal.
- To remove, hold the top body of the cap, insert the key, and turn. This should now allow you to turn all the caps and remove them completely.
Our product page has a range of fuel cap replacements to suit cars of all makes and models. You can also check out our reg checking tool on there, which is designed to help you find the exact match for the cap replacements for your car.
Once your replacement has arrived, you can check the cap blade type found inside the packing slip to determine which type it is, and the specific instructions will also be available for you to use there.
Encountered an issue or need further help and advice? Get in touch with the Vipa team today and we’ll be happy to help.
Need more information before you decide which replacement fuel cap to buy? Our comprehensive fuel caps hub contains information and resources to help you understand which fuel cap best matches up to your car and how to fit it properly.
-

Find Your Replacement Fuel Cap
Search NowSearch using your car’s reg number and we’ll present you with an MOT-compliant option that meets the highest standards, having been produced in an accredited factory.
-
Replacing Your Car’s Fuel Cap
Find Out MoreLooking to learn more about picking the correct replacement cap? Then start here. Our comprehensive hub of guides will keep you on track.
-

What Fuel Caps Fit My Car?
Find Out MoreThere’s more to fuel caps than meets the eye. Discover in-depth information around different types and how to pick the most suitable.


-
Fuel Caps – By Make and Model
Find Out MoreDon’t have your reg to hand, or buying for someone else? Our guide and tool will identify the best choices, so you can order the right fit with confidence.
-

Fuel Cap FAQs
Find Out MoreStill have questions or need more support? Our comprehensive FAQ section includes detailed answers about our products, company, and more.

